Creating a PM Project in VISTA
Objective
This SOP outlines the steps to create and set up a PM project in VISTA, ensuring all necessary details are correctly entered for project management.
Key Steps
1. Setup PM Project 0:00

Begin by copying an existing project template or creating a new PM project.
Ensure the PM project is set up first to allow for auto-creation of the contract.
2. Access PM Projects 0:44
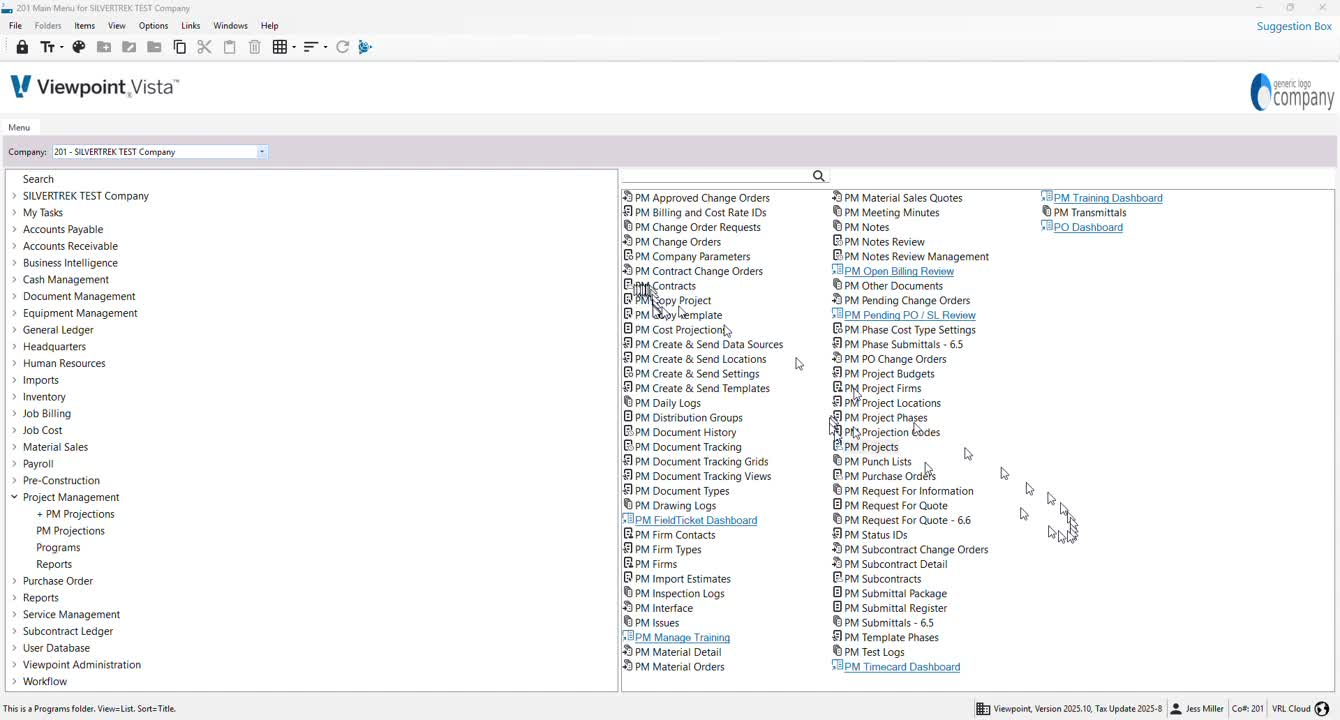
Navigate to PM projects and double-click to open.
Switch to grid view to see existing projects.
3. Create New Project or Copy Existing 1:07

If creating a new project, find the next job number and add a description.
If copying, select the desired project template.
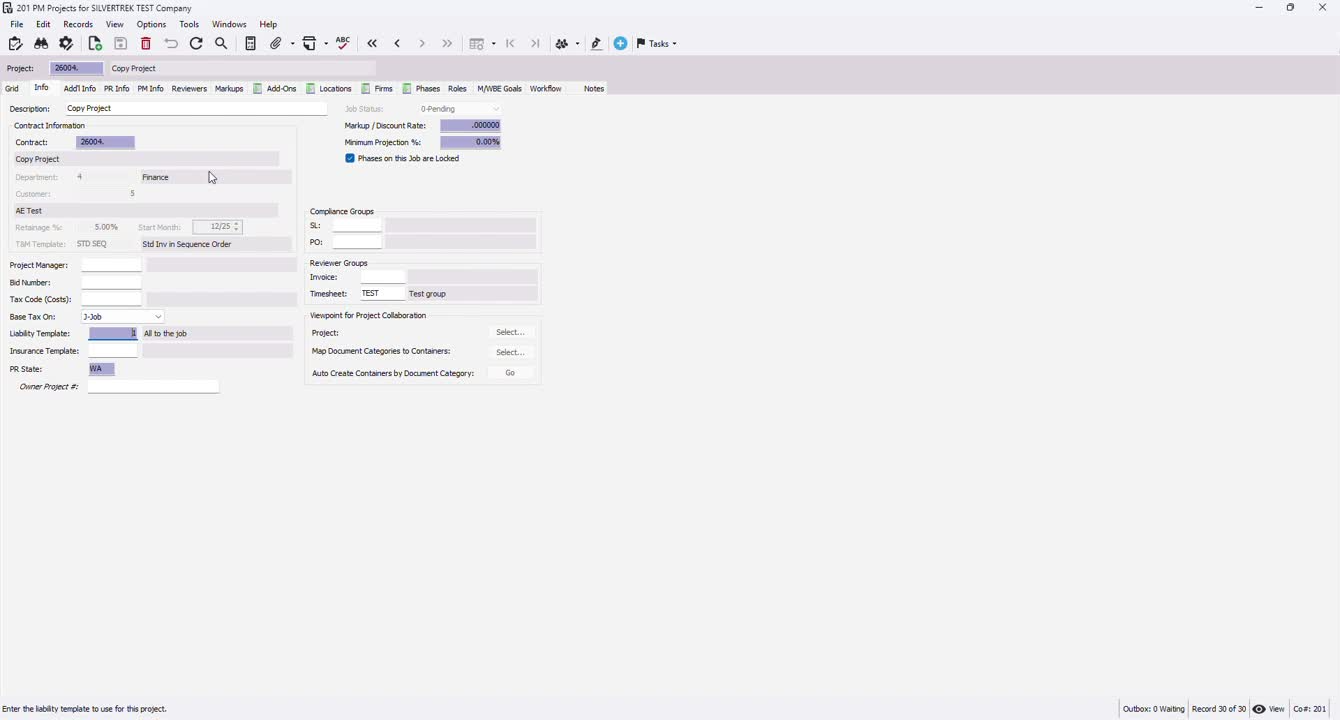
4. Modify Contract Details 1:19

Review the auto-created contract number, department, customer, retainage, and start month.
Modify these fields if necessary; they will be gray if not editable.
5. Assign Project Manager 1:41

Press F4 to assign a project manager if they are set up in the system.
6. Add Bid Number and Tax Codes 1:47

Enter any relevant bid number for tracking.
Add tax codes applicable to the job.
7. Configure Job Vendor and Liability Templates 2:04
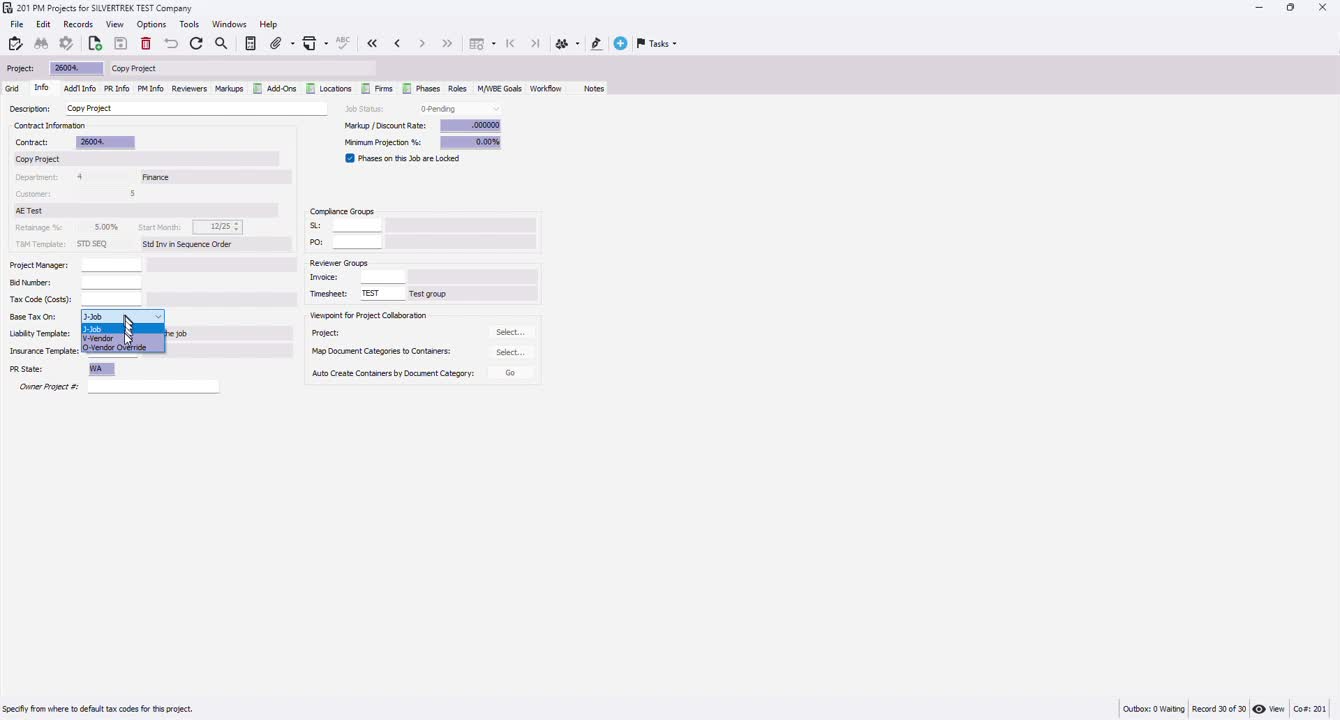
Set up job vendor override and liability template as needed.
8. Set Compliance and Reviewer Groups 2:17

If applicable, add compliance groups and reviewer groups for invoices or timesheets.
9. Additional Information 2:39
Check job status; it should indicate 'pending' if not yet interfaced.
Fill in mailing and shipping information if required.
10. Geographic and Payroll Information 3:16

If applicable, track geographic location and check for certified payroll requirements.
11. Set Up Craft Class and Overtime Schedules 3:37

Assign craft class template for prevailing wage jobs.
Set up overtime schedules if necessary.
12. Initialize Phases 4:19
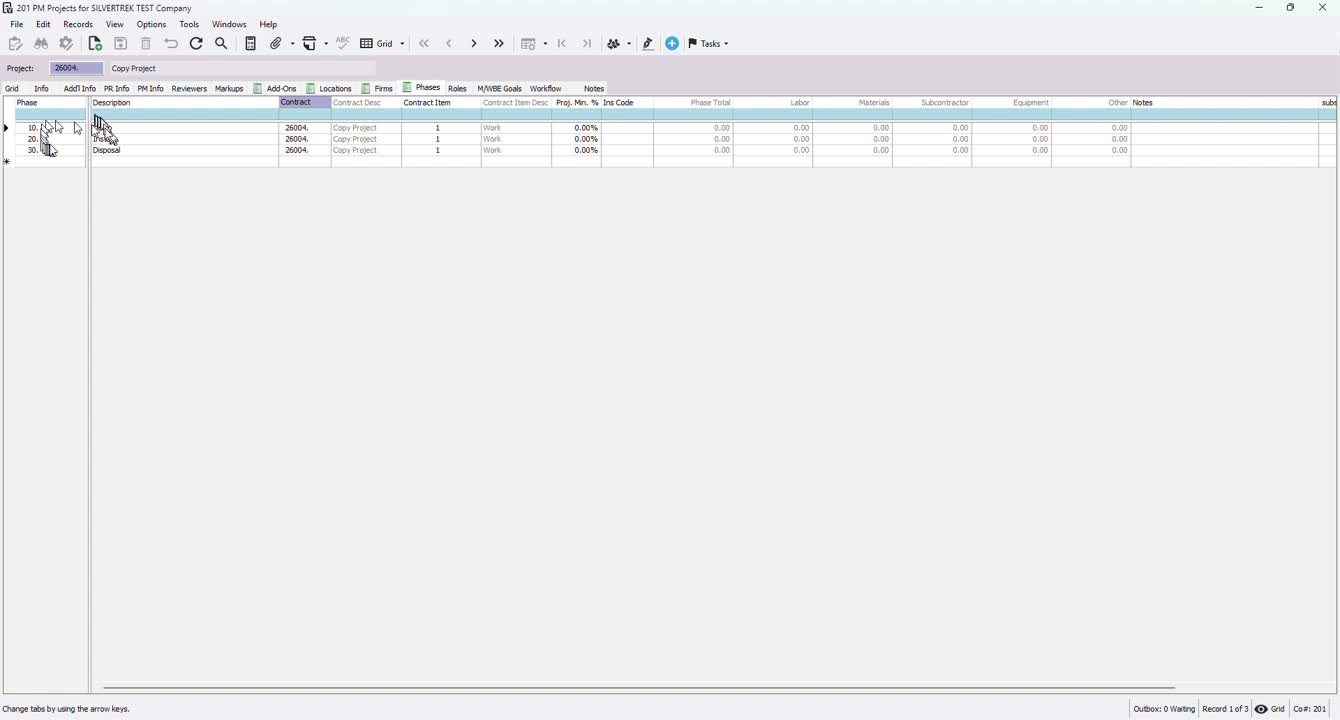
If phases were copied, review them; otherwise, double-click to open the phase program.
Use grid view or info view to add phases.
13. Initialize Cost Types 4:48

Click the 'initialize cost types' button to automatically set up cost types connected to the phases.
14. Save Project 5:18

Ensure all information is correct and save your PM project.
Cautionary Notes
Ensure all mandatory fields are filled out to avoid issues later in the project lifecycle.
Double-check the project manager assignment to ensure proper oversight.
Tips for Efficiency
Use existing templates to save time when creating new projects.
Regularly update and maintain project templates for consistency.
Link to Loom
https://loom.com/share/bde0224d91ba4a68aec0acc666ea8bb7
Was this article helpful?
That’s Great!
Thank you for your feedback
Sorry! We couldn't be helpful
Thank you for your feedback
Feedback sent
We appreciate your effort and will try to fix the article