JC JOBS Setup Procedure
Objective
This SOP outlines the steps to create and manage jobs using the JCJOBS program, ensuring all necessary details are captured accurately.
Key Steps
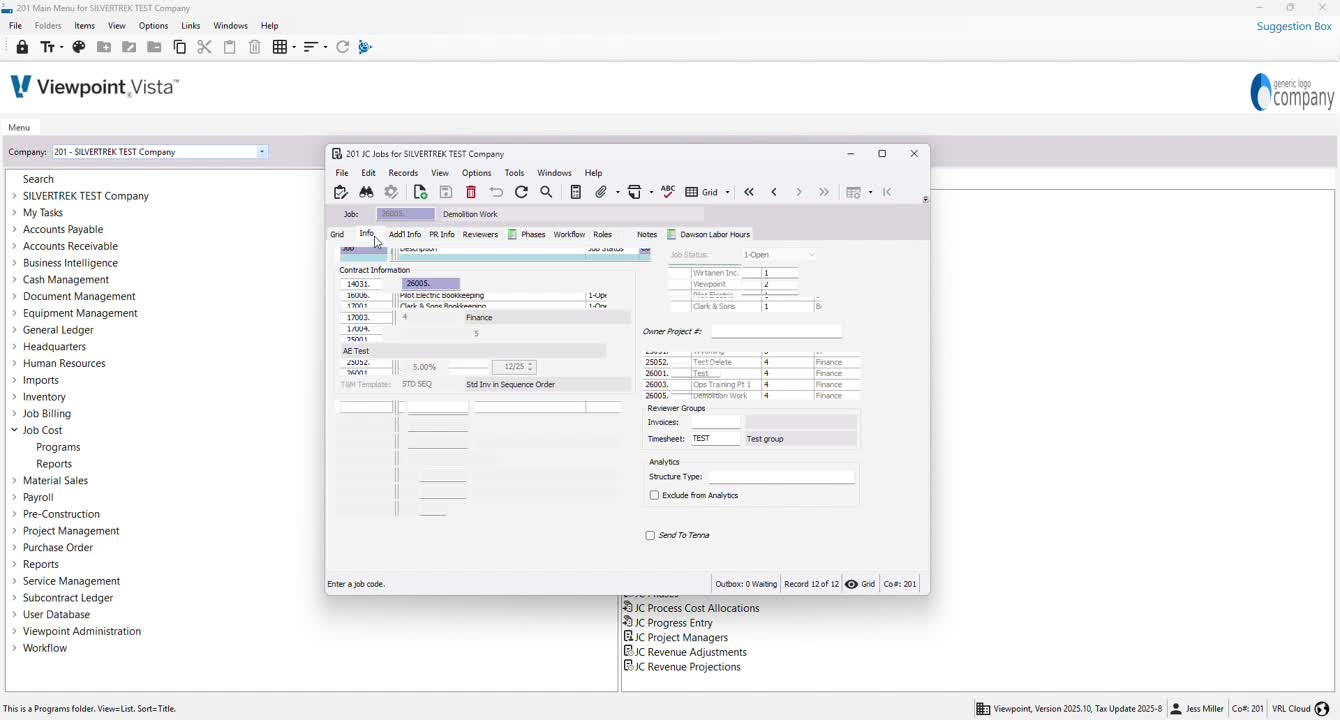
1. Accessing JCJOBS 0:00

Navigate to the Job Cost Programs.
Locate and open JCJOBS.
2. Creating a Job 0:17

If creating a job manually, start in JCJOBS.
For job creation, ensure to create the job first to automatically generate the contract.
3. Job Number Creation 0:55

Enter the next job number needed.
Review and add any necessary details.
4. Adding Job Information 1:11
Click on 'info' to add a job description.
5. Contract Management 1:18

Note that the contract is created automatically upon job creation.
To modify contract details, access the contracts section.
6. Selecting Project Manager 1:42
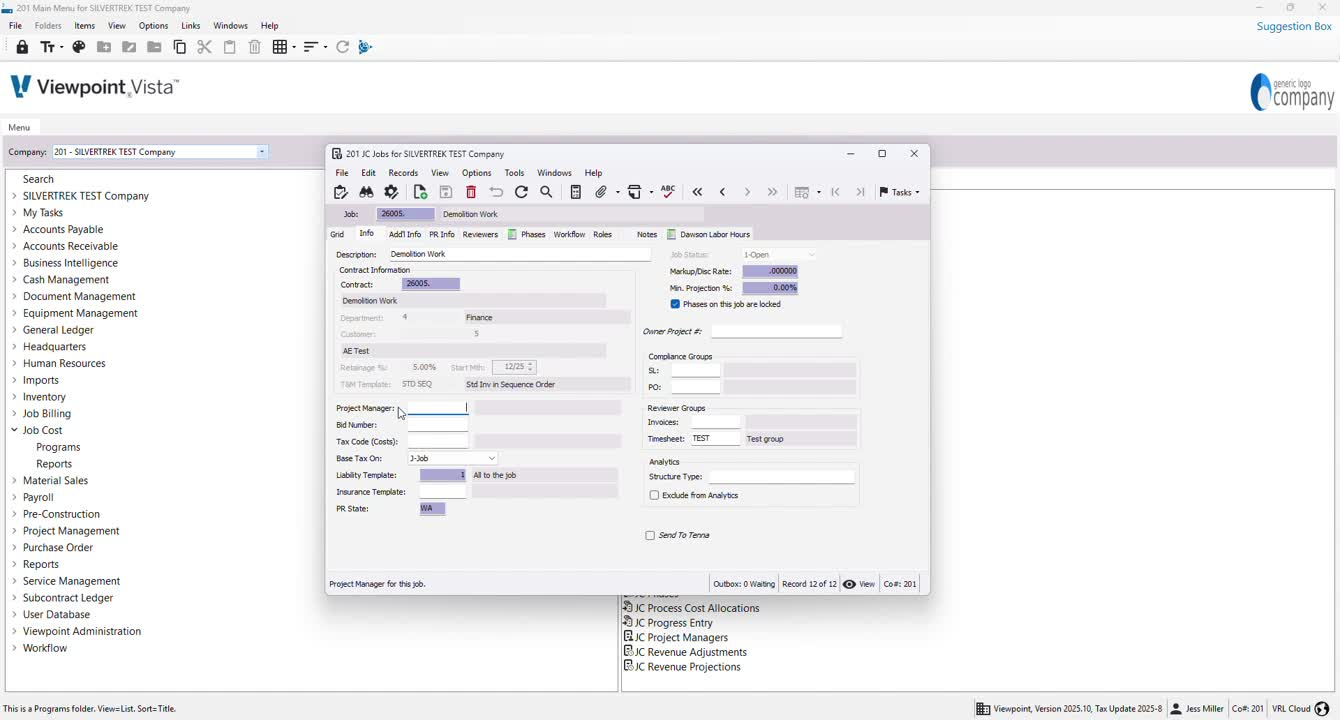
If applicable, select a project manager by hitting F4.
7. Entering Additional Job Details 1:48

Input bid number, tax code, liability template, insurance template, and PR state as needed.
8. Compliance and Review Groups 2:16

Set up any compliance groups related to the job from the subcontract ledger or purchase order modules.
9. Additional Info Tab 2:31

Add mailing or shipping addresses if necessary.
10. PR Info Tab 2:44

Enter PR Local Code for tracking geographic locations.
11. Certified Payroll Setup 3:01

Select Certified Payroll if applicable and set the start date.
12. Craft and Overtime Templates 3:10

Set up craft templates and overtime schedules as needed.
13. Adding Phases 3:35

Go to the phases tab to add any necessary phases.
14. Modifying Phase Details 4:03

Double-click to modify phase descriptions and attach contract items or insurance codes.
15. Cost Types and Estimates 4:35

Attach cost types to the phase and manage specific estimates in the estimates tab.
Cautionary Notes
Ensure all required fields are filled out to avoid errors in job tracking.
Double-check the job number to prevent duplication.
Tips for Efficiency
Use F4 shortcuts to quickly access templates and selections.
Regularly save your progress to avoid losing data.
Link to Loom
https://loom.com/share/642c54a8920641348fc68e2e31329637
Was this article helpful?
That’s Great!
Thank you for your feedback
Sorry! We couldn't be helpful
Thank you for your feedback
Feedback sent
We appreciate your effort and will try to fix the article